_1762768699969.webp)

_1782530506402.webp)
(1)_1783045836766.webp)
(1)_1780970038980.webp)
Complete Aluminum Wave Panel Installation Guide | Step-by-Step Waterproof Instructions
Extruded aluminum wave panel has become the preferred material for modern building facades and roofing systems due to its superior waterproof performance, structural strength and aesthetic appeal. However, improper installation can compromise these advantages, leading to water leakage, deformation and premature failure.
This comprehensive guide, based on 18+ years of industry experience, provides detailed step-by-step instructions for professional aluminum wave panel installation, with special emphasis on waterproofing techniques and seamless splicing methods that are critical to long-term performance.

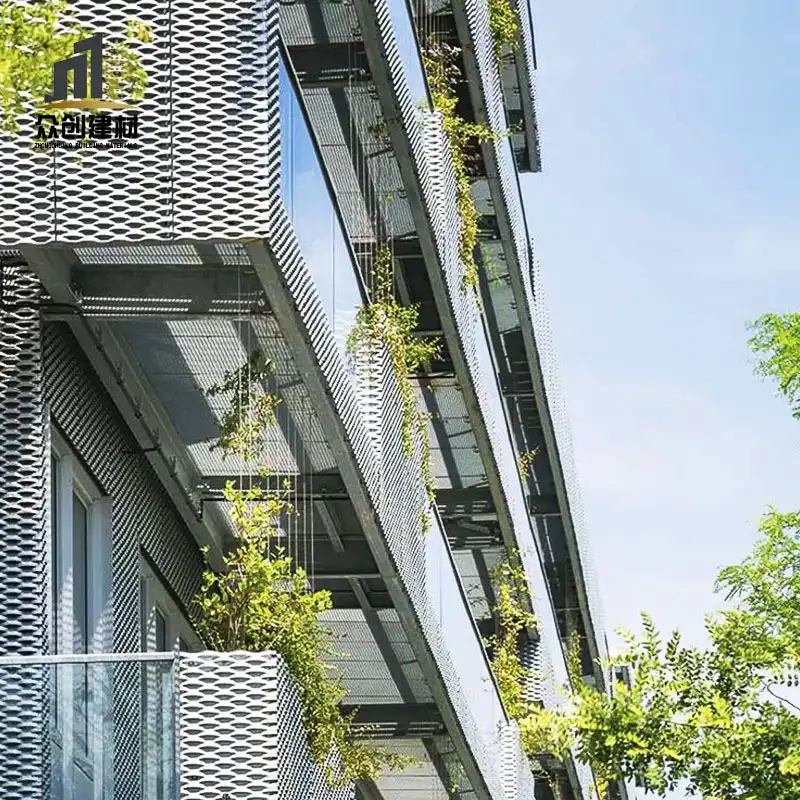
Professional installation of extruded aluminum wave panel on commercial building facade
1. Pre-Installation Preparation
Proper preparation is the foundation of a successful installation project.
1.1 Required Tools & Equipment
| Tool Category | Essential Items |
|---|---|
| Measuring Tools | Laser level, tape measure, chalk line, angle finder |
| Cutting Tools | Electric circular saw with aluminum blade, angle grinder, miter saw |
| Fastening Tools | Cordless drill, impact driver, rivet gun, torque wrench |
| Safety Equipment | Safety glasses, gloves, hard hat, fall protection harness |
| Other Tools | Caulk gun, rubber mallet, level, utility knife |
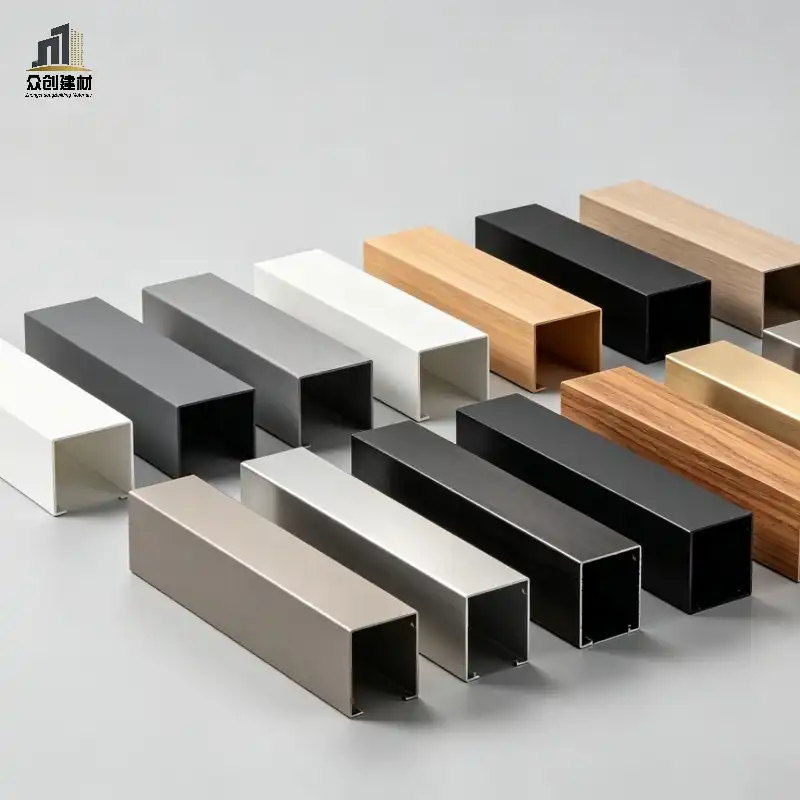
1.2 Materials Checklist
Extruded aluminum wave panels (custom cut to length)
Galvanized steel or aluminum substructure (C-channel, square tube)
Stainless steel self-tapping screws (grade 304 or 316)
EPDM rubber sealing strips (matching panel profile)
Neutral silicone sealant (weather-resistant)
Aluminum flashing and trim pieces
Thermal insulation (if required)
1.3 Substrate Inspection & Preparation
Structural Integrity Check: Verify that the building structure can support the weight of the aluminum wave panel system (approximately 5-8 kg/m²).
Flatness Check: The substrate surface must be flat within ±5mm over a 3-meter span. Correct any uneven areas before proceeding.
Waterproofing Base Layer: Apply a waterproof membrane to the substrate, especially around openings, corners and roof edges.
Substructure Installation:
Install vertical or horizontal C-channel purlins at 600-1200mm intervals (depending on panel thickness and span)
Ensure purlins are perfectly level and aligned
Use corrosion-resistant fasteners to attach purlins to the building structure
Leave 10-15mm expansion gaps between purlin sections
2. Step-by-Step Installation Process
Follow these steps in order for a professional and waterproof installation.
Step 1: Measurement & Layout
Use a laser level to establish horizontal and vertical reference lines on the substructure.
Mark the position of each panel, starting from the bottom corner and working upwards.
Mark the location of all openings (windows, doors, vents) and cutouts.
Calculate the number of panels required, allowing for 5-10% waste for cuts and mistakes.
Step 2: Panel Cutting & Fabrication
Cut panels to the required length using a circular saw with a fine-tooth aluminum blade.
Make all necessary cutouts for openings using a jigsaw or plasma cutter.
Deburr all cut edges to remove sharp burrs and prevent injury.
Apply a touch-up coating to any exposed aluminum edges to prevent corrosion.
Step 3: Starting Panel Installation (Critical for Waterproofing)
Apply EPDM rubber sealing strip to the female edge of the first panel.
Position the first panel at the bottom corner, ensuring it is perfectly level and plumb.
Fasten the panel to the substructure using stainless steel self-tapping screws:
Install screws at every purlin intersection
Space screws 300-400mm apart along the panel edges
Do not over-tighten screws (this can cause panel deformation)
Verify that the panel is securely fastened and properly aligned before proceeding.
Step 4: Seamless Panel Splicing (Most Important Step)
Apply EPDM rubber sealing strip to the female edge of the next panel.
Insert the male edge of the new panel into the female edge of the previously installed panel.
Use a rubber mallet to gently tap the panel into place, ensuring a tight and seamless fit.
Important: Do not force the panel into place as this can damage the interlocking system.
Fasten the new panel to the substructure as described in Step 3.
Repeat this process until all panels are installed.
Step 5: Corner & Edge Treatment
Internal Corners: Use a continuous aluminum corner trim piece, sealing both edges with silicone sealant.
External Corners: Use a pre-formed aluminum corner profile, ensuring proper overlap and sealing.
Top & Bottom Edges: Install aluminum flashing to cover the panel edges and prevent water infiltration.
Openings: Install custom flashing around all windows, doors and vents, with proper overlapping to direct water away.
Step 6: Waterproofing Details (Critical for Long-Term Performance)
Apply a continuous bead of neutral silicone sealant to all end joints and intersections.
Ensure that all EPDM seals are properly seated and not twisted or damaged.
Install weep holes at the bottom of each panel section to allow any trapped water to drain.
Inspect all joints carefully for any gaps or potential leakage points.
Step 7: Final Inspection & Cleanup
Check all panels for proper alignment, levelness and secure fastening.
Inspect all joints and seals for waterproof integrity.
Remove any protective film from the panel surfaces.
Clean the entire installation with a mild detergent and water.
Conduct a water test (if possible) to verify waterproof performance.
3. Key Technical Points & Best Practices
3.1 Thermal Expansion & Contraction Considerations
Aluminum expands and contracts significantly with temperature changes. To prevent deformation and buckling:
Leave 5-10mm expansion gaps between panel ends
Do not fully tighten screws (allow slight movement)
Use sliding fasteners for long panel runs
Install expansion joints every 12-15 meters
3.2 Waterproofing Best Practices
Primary Waterproofing: The interlocking system with EPDM seals provides the primary waterproof barrier.
Secondary Waterproofing: Silicone sealant provides secondary protection at end joints and intersections.
Tertiary Waterproofing: Flashing and trim pieces provide additional protection at vulnerable areas.
Drainage System: Properly designed weep holes ensure that any water that penetrates the system can drain out.
3.3 Wind Load Considerations
For high-wind areas, use thicker panels (2.5mm or 3.0mm)
Reduce purlin spacing to 600mm or less
Use additional fasteners at panel edges and corners
Ensure that the substructure is properly engineered for local wind loads
4. Common Installation Mistakes to Avoid
| Mistake | Consequence | Prevention |
|---|---|---|
| Over-tightening screws | Panel deformation and buckling | Use a torque wrench set to the manufacturer's recommended torque |
| Improper sealing | Water leakage and corrosion | Use high-quality EPDM seals and neutral silicone sealant |
| No expansion gaps | Panel buckling and joint failure | Leave proper expansion gaps between panels and sections |
| Uneven substructure | Poor panel alignment and visible gaps | Ensure substructure is perfectly level and flat |
| Using incorrect fasteners | Corrosion and structural failure | Use only stainless steel fasteners (grade 304 or 316) |
| Forcing panels into place | Damage to interlocking system | Use a rubber mallet and tap gently |
5. Post-Installation Maintenance
Proper maintenance will ensure the long-term performance and appearance of your aluminum wave panel system:
Regular Cleaning: Clean the panels twice a year with a mild detergent and water.
Inspection: Inspect all joints, seals and fasteners annually for signs of damage or wear.
Repair: Replace any damaged seals or fasteners immediately to prevent water leakage.
Touch-up: Touch up any scratches or chips in the coating to prevent corrosion.
6. Frequently Asked Questions (FAQ)
Q1: Can I install aluminum wave panels myself?
A: While it is possible for experienced DIYers to install aluminum wave panels, we recommend hiring a professional installer for commercial projects or projects requiring waterproofing. Improper installation can lead to water leakage and structural issues.
Q2: How long does it take to install aluminum wave panels?
A: A professional installation team can install approximately 50-100 square meters of aluminum wave panels per day, depending on the complexity of the project.
Q3: Do I need to use sealant at the interlocking joints?
A: No. The interlocking system with EPDM seals provides sufficient waterproofing. Sealant should only be used at end joints, corners and around openings.
Q4: What is the maximum panel length I can use?
A: The maximum recommended panel length is 6 meters for 1.5mm thick panels and 8 meters for 2.0mm thick panels. Longer panels may require additional support and expansion joints.
Q5: Can aluminum wave panels be installed over existing roofing?
A: Yes, aluminum wave panels can be installed over existing roofing materials, provided that the existing structure is in good condition and can support the additional weight.