_1782530506402.webp)
(1)_1783045836766.webp)
_1786157639392.webp)
(1)_1780970038980.webp)
Installation Technology and Joint Detail Design of Perforated Aluminum Ceiling Panels
2026-11-03 14:44:46
Installation is the key stage to transform drawings into finished ceilings. Workmanship affects flatness, seam alignment, appearance and safety. Though perforated aluminum ceiling panels are relatively easy to install, standardized workflows and precise joint treatment are required for premium results. This article covers construction workflows, detail design, quality defects and countermeasures.
A full preparation stage is required before construction.
- Technical preparation. Installers shall study drawings, clarify elevation, layout, pattern arrangement, lamp and air outlet positions. Complex shapes require shop drawing optimization and layout marking on site to confirm panel dimensions and positions.
- Material preparation. Panels, keels, hangers and accessories shall be inspected upon delivery for specification, colour and surface integrity. Panels shall be stacked properly to prevent bending.
- Site condition preparation. All MEP services (HVAC, fire protection, electrical and low-voltage cables) shall be installed and passed concealed inspection before ceiling closure. Retrofit after ceiling installation will damage panels.
- Survey and marking. Horizontal control lines for ceiling elevation are marked on surrounding walls and columns. Markings for hangers and main runners are laid out on the slab above. Layout lines must be double-checked, as misalignment at this stage causes cascading errors.

Main Construction Steps
- Install hangers. Drill anchor holes on the slab, fix expansion bolts and attach hangers. Hangers shall be vertical, with spacing generally ≤1200 mm. Heavy loads such as large lamps and air terminals require independent dedicated hangers and shall not be carried by keels.
- Install main keels. Suspend main runners onto hangers and adjust horizontally. Keel splices shall use dedicated connectors, with joints staggered. Adjust elevation by tightening hanger nuts against the horizontal reference line.
- Install cross runners. Secondary keels are fixed below main runners by hangers. Spacing matches panel size: 600 mm square panels require 600 mm runner spacing. Linear strip ceilings adopt dedicated strip keels. Flatness and spacing shall be rechecked.
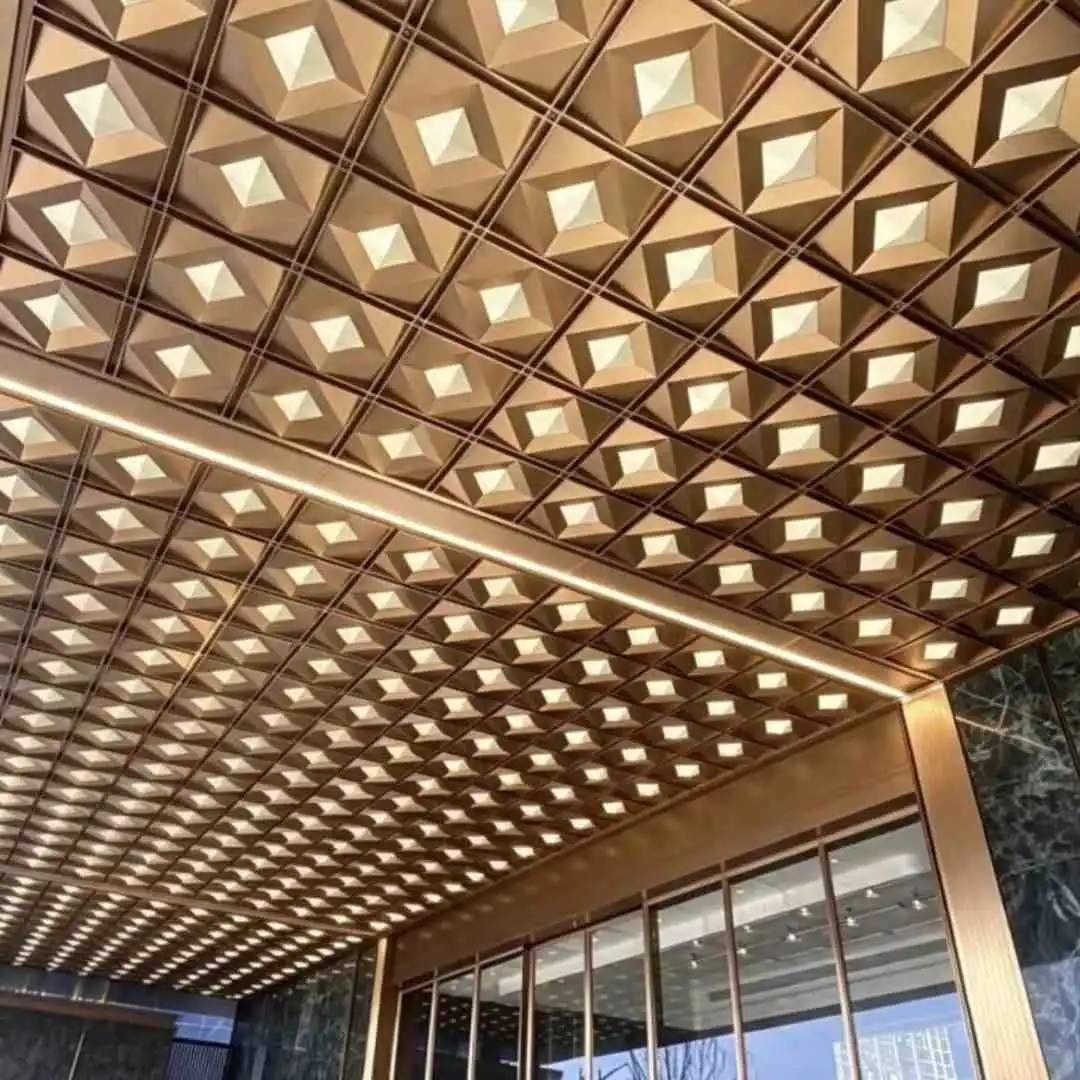
- Mount panels. Install perforated aluminum panels sequentially following layout drawings. Square panels are commonly fixed with spring clips or screws; strip panels clip onto specialized keels with matching seam trims. Handle panels carefully to avoid scratches. Installation usually starts from one corner or central axis. For gradient or directional perforation patterns, orientation must be consistent.
- Fit-out fixtures. After panel installation, mount lamps, air diffusers, smoke detectors, sprinklers and access hatches. Coordinate fixture positions during layout planning, aligning fixtures with panel seams as much as possible.
- Final cleaning. Remove protective films, wipe surfaces and clean the working area.
Key Joint Details
- Ceiling-to-wall junction. Perimeter aluminium trim is fixed to walls, with ceiling edges resting on the trim. Trim elevation must match ceiling elevation for neat straight edges.
- Lamp and air outlet penetrations. Fixture borders shall align with panel seams with uniform gaps. Cut-outs shall be accurate and straight for recessed luminaires.
- Access hatch details. Prefabricated aluminium access covers are installed flush with ceiling panels with concealed frames, positioned for convenient MEP maintenance while remaining visually discrete.
- Step and curved transitions. Multi-level or curved ceilings require custom profiles and tailored panels for smooth transitions.
- Expansion joints. Expansion joints are required for large-area ceilings to accommodate thermal movement and structural deformation and prevent cracking.
- Vibration isolation. Vibration pads shall be installed on hangers for fans and HVAC units to eliminate resonance and noise transmitted to the ceiling system.
Common Quality Defects & Remedies
- Wavy, uneven ceiling: caused by poor levelling, oversize hanger spacing or uneven keel loading. Solution: strictly level keels against reference lines and use independent hangers for heavy equipment.
- Uneven seam width: from dimensional tolerance, misaligned installation or irregular runner spacing. Solution: inspect panel dimensions, use string lines during installation and standardize runner spacing.
- Surface scratches and damage: from improper protection and cross-trade construction. Solution: retain protective film until handover and protect finished surfaces.
- Misaligned, untidy cut-outs: from poor pre-layout and inaccurate cutting. Solution: coordinate fixture positions in early layout and use specialized cutting tools.
- Deformation and cracking: missing expansion joints for large ceilings under temperature variation. Solution: install expansion joints and reserve thermal gaps between panels.
- Creaking and abnormal noise: friction from thermal expansion or equipment vibration. Solution: add isolation gaskets at contact points and isolate vibrating equipment.
Strict process control and careful joint workmanship can avoid most typical defects and achieve high-quality perforated aluminum ceiling installation.
share:






YOU MAY LIKE