
_1782530506402.webp)
(1)_1783045836766.webp)
_1786157639392.webp)
(1)_1780970038980.webp)
Selection Guide for Irregular Aluminum Ceiling: Modulus, Folding Angle & Tolerance
This guide breaks the product into five families, three critical parameters, three mandatory drawings and six typical failure modes, and sets out a method that can be used directly at scheme and development stage. The figures given are industry experience ranges intended for rapid screening; every project must still be confirmed by a factory mock-up and a 3D model.

1. The Five Families and Their Boundaries
"Irregular aluminum ceiling" is an umbrella term covering products that differ enormously. The first step in selection is not choosing a shape but identifying which family is actually needed.
|
Type |
Forming method |
Core advantage |
Main limitation |
|---|---|---|---|
|
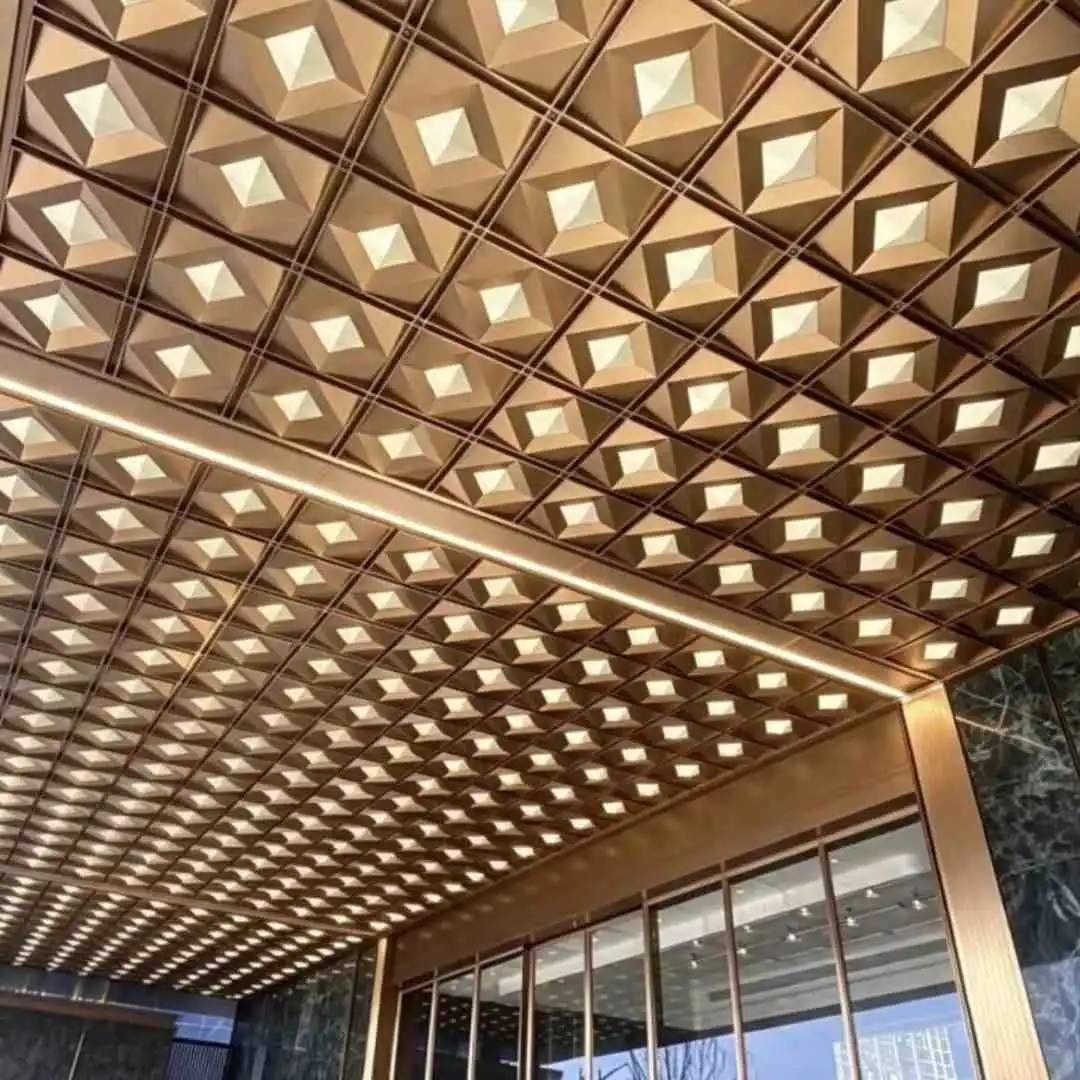
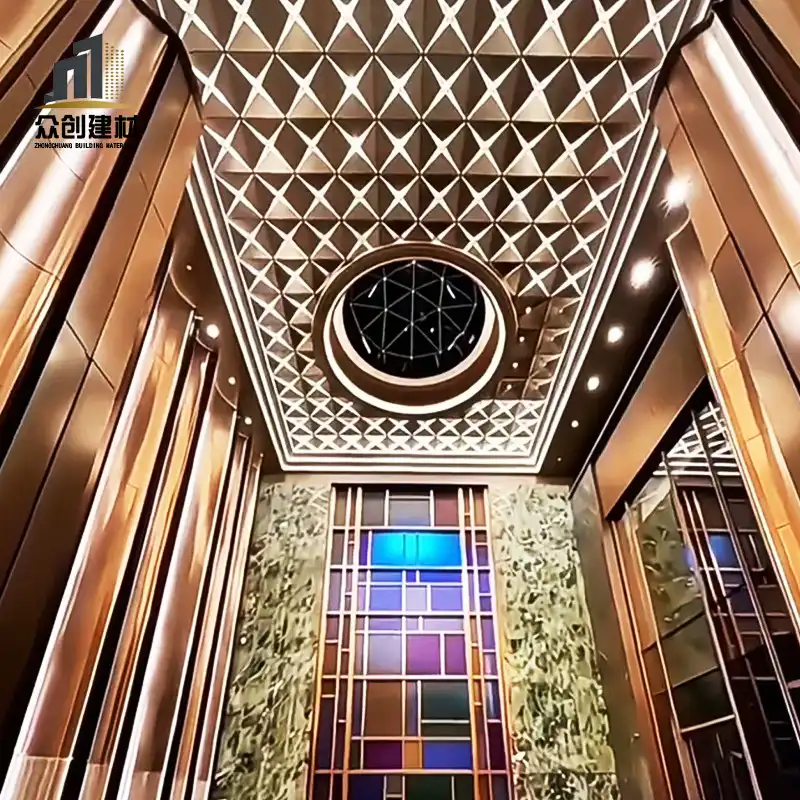
Triangular facet |
CNC bending of flat sheet into a polyhedron |
Strong light and shadow, high geometric legibility, controllable cost |
Angle and handedness must be strictly paired; errors accumulate |
|
Double-curved surface |
Roll forming or stretch forming |
Continuous curvature, suited to organic forms |
High tooling cost, difficult unit-to-unit consistency, long lead time |
|
Wave profile strip |
Rolled into a wave and assembled as strips |
Fast installation, standardizable, good ventilation |
Less shape freedom than facets; joints are straight lines |
|
Shaped grille |
Profile assembly, optionally angled |
Transparent, serviceable, low cost |
Low coverage; unsuitable where a closed surface is required |
|
Perforated shaped panel |
Facets or flat panels with CNC perforation |
Pattern and light transmission, plus acoustic absorption |
Holes conflicting with fold lines damage the surface; nesting must be resolved early |
How to read this: facets deliver volume, double curves deliver flow, strips and grilles deliver efficiency, perforation delivers pattern and acoustics. None substitutes for another, and when they are combined the primary surface must be decided first.
2. How It Differs Fundamentally From a Flat Ceiling
Treating an irregular ceiling as "a more expensive flat panel" is the root of cost overruns and acceptance disputes. The two are different product classes on four dimensions.
|
Dimension |
Flat ceiling |
Irregular folded ceiling |
|---|---|---|
|
Geometry |
Two-dimensional surface; error accumulates in two directions |
Three-dimensional volume; error accumulates in three directions and amplifies itself |
|
Smallest replaceable unit |
A single panel, interchangeable anywhere |
A unit group; removal usually affects adjacent units |
|
Acceptance criteria |
Flatness, joint width, color consistency |
Fold sharpness, facet flatness, joint consistency, light-hole fit |
|
Cost center |
Sheet material and battens |
Bending hours, tooling and installation |
The most important difference is how error is absorbed. A flat panel can be cut on site and recovered. Once a facet unit is bent to the wrong angle, nothing on site can correct it; the panel must be replaced. Quality control therefore has to move upstream into the factory rather than relying on site adjustment.
3. Module: The First Parameter That Decides the Project
Unit edge length is not designed; it is calculated. It has to satisfy three divisibility conditions at once:
-
Divisible into the structural grid: otherwise a partial unit appears at the column line that cannot be closed
-
Divisible into the luminaire spacing: with common spacings of 1.2m or 1.5m, unit edges of 600mm, 750mm or a common divisor keep every fixture on a vertex
-
Divisible into diffuser and access panel sizes: service openings must occupy whole units and must not straddle a fold line
These three conditions often conflict. The practical priority is lighting, then access panels, then structural grid. Misplaced lighting destroys the geometric logic outright, whereas grid deviation can be absorbed by perimeter trims.
The perimeter is the most fragile part of an irregular ceiling. Industry experience places most after-sales complaints about cracking, lifting and color variation at the perimeter. The underlying cause is usually a module that was never calculated properly, leaving site crews to cut a piece and patch it in. A cut unit has no folded edge, so neither its strength nor its appearance meets specification.
A practical self-check: print the layout at 1:1 and measure the building edge with multiples of the unit length. If the remainder exceeds 40% of a unit, resize the unit rather than forcing the perimeter to absorb it.
4. Fold Angle and Visual Tolerance
Fold angle is not only a shaping parameter. It simultaneously determines visual strength, construction tolerance and comfort for people standing underneath.
It helps to introduce a concept commonly used in engineering practice: visual tolerance, meaning whether the form still "looks right" within the installation deviation that is actually achievable.
|
Fold angle |
Visual tolerance |
Tolerable unit deviation |
Typical issue |
|---|---|---|---|
|
15° |
High |
±3mm often unnoticed |
Weak relief; reads almost flat from a distance |
|
30° |
Medium; the turning point |
Safe within ±1.5mm |
Beyond 2mm, joint widths begin to vary |
|
45° and steeper |
Low |
Visible at ±1mm |
Small deviations are magnified by shadow into crooked peaks |
Thirty degrees is the practical turning point in this industry. Below it the form is forgiving and construction-friendly; above it the visual impact increases, but the demands on bending accuracy, frame levelness and installation sequence rise exponentially. This explains why most completed projects settle near 30°: engineering rationality rather than aesthetic conservatism.
Another equivalence is worth remembering: large units with a shallow fold and small units with a deep fold can achieve similar visual strength, but the former costs less and tolerates more. Where ceiling height permits, prefer large units and shallow folds.
5. The Three Drawings Development Must Issue
Nine out of ten rework cases on irregular ceilings can be traced to one of three drawings being missing, or to the wrong issue sequence.
|
Drawing |
Must contain |
Consequence if missing |
|---|---|---|
|
Layout drawing |
Unit numbers, datum starting point, laying direction, zone boundaries |
Site starts from one corner, error accumulates at the opposite edge and the perimeter cannot close |
|
Handedness drawing |
Pairing of left- and right-handed units, distinguished by color or symbol |
Uniform orientation shortens shared edges, and a 2mm joint grows beyond 5mm |
|
Lighting drawing |
Cut-out coordinates, diameters, fixture models, minimum clearance from fold lines |
Site drilling lands mid-facet; fixtures protrude or recess and the geometry fails |
The issue sequence cannot be reversed: layout sets the module, handedness sets the pairing, lighting sets the cut-outs. If lighting is fixed before units are laid out, the fixtures force a non-integer module and every unit must be resized.
Two further drawings are often omitted but equally necessary: the perimeter detail drawing for junctions with walls, curtain walls and light coves, and the packing zone drawing that numbers cartons by installation sequence. On export projects, without the latter, crews search through hundreds of cartons and the schedule collapses.
6. Cost Structure: Where the Money Actually Goes
Quotations for this product often differ by a factor of two or three. Understanding the cost structure is more effective than repeated price pressure.
|
Cost item |
Share (experience range) |
Drivers |
|---|---|---|
|
Aluminum sheet |
15%–20% |
Thickness, alloy grade, unit size and nesting efficiency |
|
Bending and forming |
25%–30% |
Fold depth, number of bends, dedicated tooling requirements |
|
Surface finishing |
15%–20% |
Powder or PVDF, number of colors, two-tone masking |
|
Tooling and mock-up |
10%–15% |
Whether a standard unit library is used; fully bespoke projects rise sharply |
|
Installation and consumables |
25%–35% |
Ceiling height, scaffolding, frame type, site coordination |
Two counterintuitive conclusions:
-
There is very little room to squeeze the sheet price. Material is under one fifth of the cost, and the saving from reducing thickness from 2.0mm to 1.5mm is far smaller than the oil-canning and rework it causes
-
The real saving lies in standardization: reusing standard units, reducing tooling and improving nesting efficiency beats negotiating unit prices
7. Six Typical Failure Modes
|
Symptom |
Immediate cause |
Root cause and prevention |
|---|---|---|
|
Joint width grows locally |
Uniform orientation shortens shared edges cumulatively |
Handedness not paired. Prevention: handedness drawing plus adjacent-unit trial fit before dispatch |
|
Waves visible in reflected light |
Insufficient thickness or oversized unit |
Edge length not matched to thickness. Prevention: 1.5–2.0mm up to 600mm edges, 2.5mm above |
|
Lifted or damaged edges at light holes |
Cut-out placed mid-facet or across a fold |
Lighting drawing issued after layout. Prevention: fixed drawing sequence and clearance from fold lines |
|
Color variation between adjacent units |
Different coating batches or separately made replacements |
No batch control. Prevention: one batch per project, with 3%–5% spares from the same batch |
|
Sagging and rattling after one or two years |
Insufficient frame stiffness or loose connectors |
Frame cost was cut. Prevention: calculate frame spacing by area and specify connector grade |
|
Cracking and lifting at the perimeter |
Partial units cut on site with no folded edge |
Module not divisible. Prevention: measure the building edge at 1:1 during layout and allow dedicated perimeter pieces |
Five of these six have their root cause at drawing stage rather than production stage. That also explains why changing factories often fails to solve the problem: the drawings have already locked the error in.
8. Supplier Capability Checklist
Eight questions will establish a factory's real level in about half an hour, without touring the workshop.
-
Is there a reusable standard unit library? Which fold angles are kept in stock?
-
Can you provide a 3D numbering rule and records of pre-assembly acceptance?
-
How is handedness marked? Can you show an actual handedness drawing?
-
What is the sequence of bending and coating? Can you demonstrate the film condition at a fold?
-
How is the frame type selected, and on what basis is spacing determined?
-
Are perimeter pieces tooled or cut on site?
-
For export projects, can you supply the full set: layout, handedness, lighting, packing zone drawings and installation manual?
-
What spare ratio do you recommend, and are replacements made from the same batch?
A quick signal: if the supplier can immediately produce a standard unit list and a real handedness drawing, its process is institutionalized. If every question is met with "I will check with the workshop", it is still producing on experience alone.
9. Frequently Asked Questions
Q1: Can a folded ceiling be used with a ceiling height of only 3m?
Yes, within tighter parameters: fold angles of 15°–20°, unit edges of 600–750mm, light colors to reduce visual pressure, and no large deep-fold areas where people remain for long periods. Above 30° is not advisable below 3m.
Q2: Can access panels be incorporated?
Yes, but the panel must be designed as a whole unit. The common practice is to make one entire unit openable rather than cutting a hole in a facet. The latter breaks the continuity of the fold line and cannot be restored after opening.
Q3: Can a complex pattern be built from a single unit type?
Yes, and this is the most cost-effective path. By varying handedness and layout, one unit can produce hexagonal, diamond, fish-scale and other patterns with a single set of tooling. Mixing multiple unit types multiplies tooling and spare-parts cost.
Q4: What is the most common problem on export projects?
Not production, but missing information for site assembly. A local crew without numbers, handedness drawings or a datum starting point lays panels by feel, and the accumulated error cannot be closed out. The five-drawing set is therefore more valuable than a few extra spare panels.
Q5: How is the fire rating determined?
Aluminum is non-combustible, and with an inorganic coating system the product can reach GB 8624 Class A or EN 13501-1 A2-s1,d0. If the coating cracks at a fold, assessment of the as-built condition may affect the classification, so bending must precede coating. Confirm this process sequence with the supplier at the selection stage.