_1782530506402.webp)
(1)_1783045836766.webp)
_1786157639392.webp)
(1)_1780970038980.webp)
3D Relief Perforated Aluminum Facade Guide
How to Choose a Relief Texture
Texture defines the facade's light character and should be chosen by spatial quality and viewing distance rather than by preference alone. For large areas viewed from a distance, simpler textures read more clearly; for close viewing, finer detail becomes valuable.
|
Texture Type |
Forming Method |
Light Effect |
Application |
|---|---|---|---|
|
Ridge relief |
CNC ridge forming |
Striped contrast, strong rhythm |
Offices, commercial facades |
|
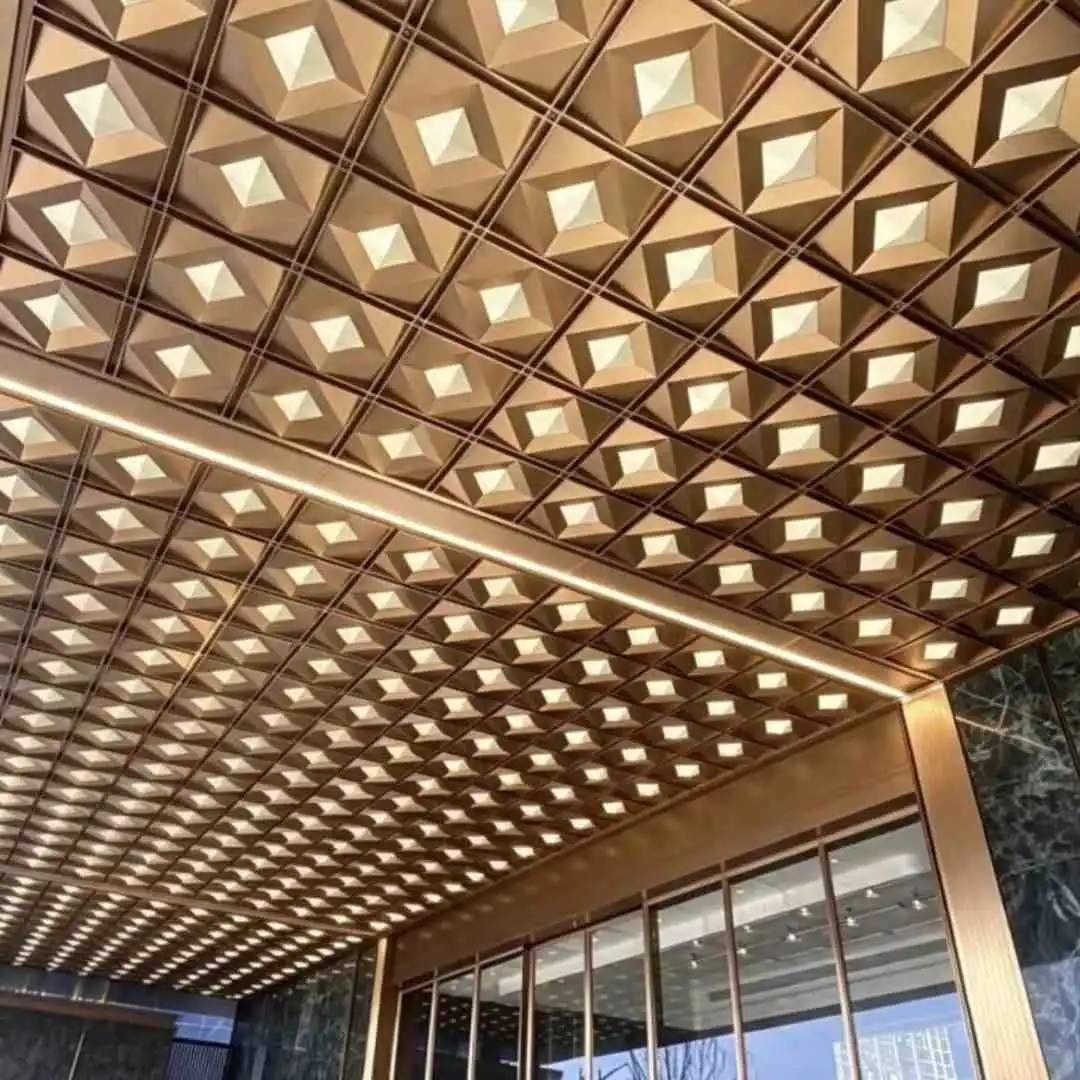
Folded relief |
Multi-angle bending |
Geometric facets, crisp and modern |
Cultural buildings, entrances |
|
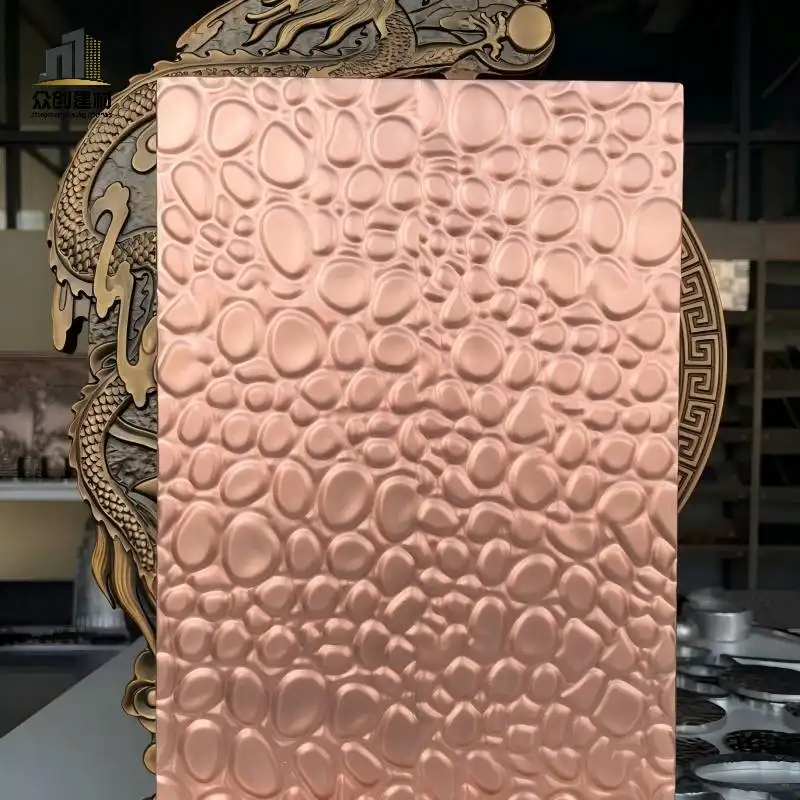
Embossed texture |
Die embossing |
Patterned relief, fine layering |
Signature facades, art walls |
|
Corrugated undulation |
Roll corrugating |
Soft waves, flowing rhythm |
Large curtain walls, shading |
|
Double-layer offset |
Two-layer staggered assembly |
Deep shadows, transparency illusion |
Premium retail, exhibition halls |

Comparison with Other Perforated Facade Options
When weighing multiple perforated facade options, the key differences usually lie in dimensional depth, stiffness, shading and ventilation, and maintenance convenience.
|
Dimension |
Relief Perforated |
Flat Perforated |
Expanded Mesh |
Solid Aluminum |
|---|---|---|---|---|
|
Dimensional light effect |
Strong (relief + holes) |
Weak (pattern only) |
Medium (mesh transparency) |
None |
|
Panel stiffness |
High (ridge reinforcement) |
Medium |
Low (needs framing) |
High |
|
Shading and ventilation |
Good (adjustable open area) |
Good |
Very good |
None |
|
Acoustic performance |
Good (acoustic backing possible) |
Good |
Fair |
None |
|
Oil-canning resistance |
Excellent (relieves thermal stress) |
Medium (large panels bulge) |
— |
Medium |
|
Design and maintenance |
Customizable, removable |
Customizable |
Limited patterns |
Customizable |
|
Cost |
Medium-high |
Medium |
Low |
Medium |
Setting Hole Pattern, Diameter, and Open Area
Hole pattern and open area determine transparency, shading, and visual intensity. Rank project priorities first, then quantify:
-
Shading first: Open area 30%–50%, hole diameter 6–10mm, balancing shading with facade integrity.
-
Ventilation first (e.g., parking structures): Open area 40%–60%, hole diameter 10–20mm.
-
Pattern and transparency illusion first: Open area 20%–30%, combined with double-layer offset for depth.
-
Hole shape: Round for general use, square for a modern look, slotted for one-directional shading, hexagonal for stiffness, irregular for brand patterns.
-
Hole consistency: Use a uniform diameter and pitch module within one facade to avoid uneven visual density.

Process Comparison and Key Technical Points
|
Process |
Method |
Key Control Point |
|---|---|---|
|
Perforation |
Turret punch / laser cutting |
Hole position ±0.5mm, burr-free edges |
|
Ridge / bend forming |
CNC bending and ridge forming |
Consistent angles, proper springback compensation |
|
Embossing |
Custom die pressing |
Die precision determines pattern clarity |
|
Coating |
Post-perforation electrostatic spraying |
Continuous coating at hole rims, no exposed substrate |
|
Reinforcement |
Backside stiffeners / frames |
Control deflection and wind-induced vibration |
The most overlooked point is coating sequence. Coating before perforation exposes substrate at every hole rim; even if the appearance looks fine initially, rust spots and color variation appear earlier in coastal or high-humidity environments. Post-perforation coating with enhanced edge pre-treatment is the dividing line for long-term appearance retention.
Common Installation Issues and Solutions
-
Unclear Waterproofing Responsibility: The perforated panel does not provide waterproofing; a waterproof breathable membrane and drainage layer must be installed behind it, with construction responsibility stated in the contract.
-
Grid Positioning Deviation: Relief units are sensitive to joints; mark out per detailed drawings and use three-way adjustable brackets to absorb structural tolerances.
-
Panel Oil-Canning: Large panels without stiffeners can bulge under temperature variation; set stiffener spacing per wind-load calculation.
-
Backing and Maintenance: Acoustic fabric and LED strips should be pre-installed in the factory; on-site cutting damages coating and texture, so access hatches must be reserved in advance.
-
Color Consistency: Order all panels for one facade in a single batch to avoid color variation from separate production runs.
Supplier Evaluation Checklist
To judge whether a relief perforated facade supplier is reliable, check the following six items:
-
Post-Perforation Coating Capability: Does the supplier have a post-perforation coating line and edge pre-treatment, and can it provide coating inspection reports at hole rims?
-
Forming Equipment: Are CNC ridge forming, bending, roll corrugating, embossing dies, and laser cutting all available?
-
Precision Commitment: Are hole-position and forming precision stated in writing (recommended ±0.5mm for holes, ±1mm for forming)?
-
Complex Project Experience: Does the supplier have real cases involving large panels, multi-texture splicing, or urban renewal over-cladding?
-
Certification Completeness: Are AAMA 2605, CE, ISO 9001, ASTM E84, and SGS reports all in place?
-
Export and After-Sales: Packaging solutions, customs experience, warranty term (15–20 years), and replacement-panel response mechanism.